Writing guide – create your own user and follow the instructions below to get started with the first article on Skive’s own Wikipedia. Read more about Skivewiki under the “About” tab on the front page.
Get started
To write or edit an article, you must first log in with your user. If you don’t have a user, you can create one yourself. After you have logged in, there is a button at the top right-hand side that says :
“Create article”, click it.
Headline or name of the article
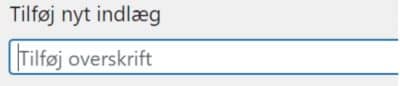
In the top bar, write the headline of the article.
For personal names, the format is *First name* *Last name* (*year of birth*-*year of death*)
As a rule, the legal name is used unless the person is much better known by another name. If a year or part of a year is unknown, use a question mark instead of an estimated number. For a living person, a blank space is made after the year of birth, ex: “NN (1956 – )”
Body text
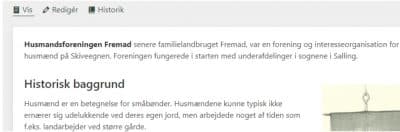
The first words of the body should contain the focal point of the article in bold, followed by a small text that gives the main points, a so-called cuff. Next, write or insert the desired body text divided by relevant sub-sections.
Subheadings
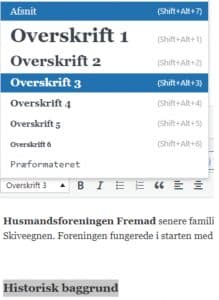
For each subsection, a subheading should be inserted.
The headings inside the text should be made in size “heading 3”. Select the desired heading, press the “Paragraph” menu and select “Heading 3”. If additional sublevels of headings are needed, the dropdown list can be used.
Text content – good advice :
Names: Use the person’s full name and not just their first name.
Verb tenses: Most articles will be about something that is in the past. Therefore, write about the past in the past tense and avoid the so-called “dramatic present”.
Punctuation: We recommend using grammatical commas.
Long articles: make sure to divide into paragraphs that are not too long with meaningful headings. This allows the reader to orient themselves in the table of contents on the right side of the screen.
Leave only one space between the subheading and the following text.
List of sources
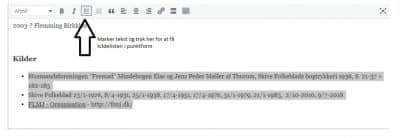
Below all text, create a bulleted list of sources (see image). Books are listed with
*Surname*, *First name*, Title, Publisher year of publication, p. X-X
Newspapers with :
*Name of newspaper”, DD/MM-YYYYY p.XX
For websites:
*”Internet address” – “Website name”
Image
Images can be inserted in the text as follows.
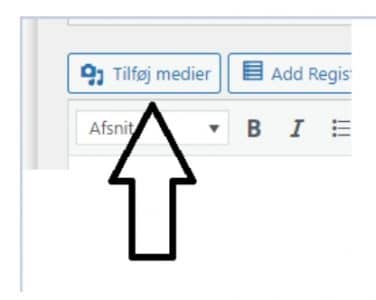
Press “add media” immediately above where you write the body text.
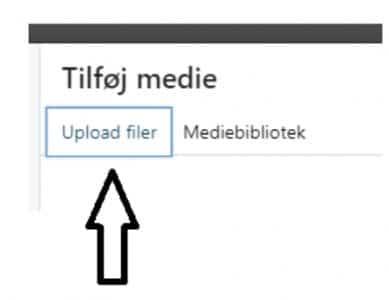
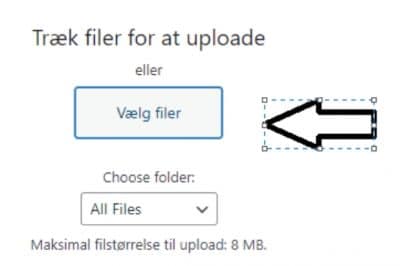
Select “upload files” then select “select files”, find the desired file on your computer, the desired image is now selected in the library.

Fill in the field where it says “caption”, this description will become part of the article. When the text is as desired, click “insert in post”.
Please note that if you want to center your image, a filled-in caption will unfortunately mean that the image will not be centered in either the computer or mobile version of SkiveWiki. The only thing to do is to create a separate line below the image, preferably centered just like the image, where the information is listed. The alternative is to add a text line to the image itself before you upload it.
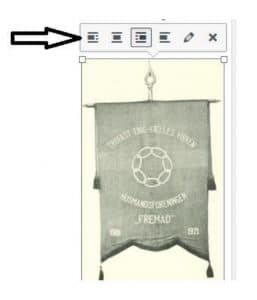
If the image is not where you want it, select the image. Then select a right or left alignment depending on what looks best.
Selected image
If you select Featured image in the right column, the image will become a kind of “headline” for the article and no accompanying caption can be filled in.
See e.g. Emilie Demant Hatt
Check the text
The program can check for problems with e.g. the length of your paragraphs. Scroll down the page until you find the section similar to the image below and press “readability”.
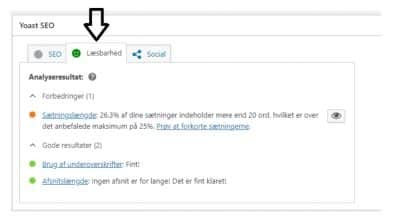
If the paragraph length is too long, feel free to add more subheadings.
Categories and tags
After the article has been written, it should be divided into categories and possibly given “tags”
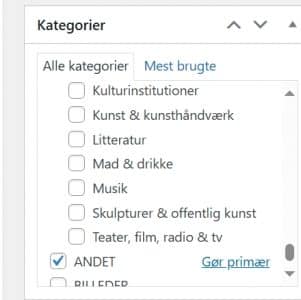
The categories are located to the right of the text box. Fill in all relevant categories.
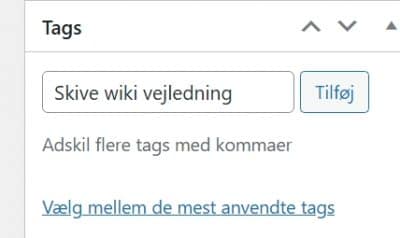
If there are categories that you think are missing from the list, you can add tags. Type the desired word in the field and press “add” or select from already used tags.
 Publish
When you are done with this, the article is ready to publish, scroll all the way up with your mouse and press
on “Publish”